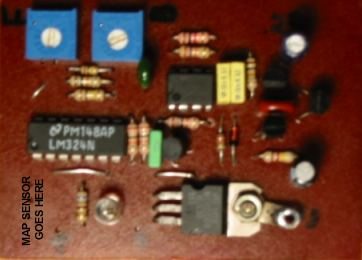
Extra Fuel Injector controller
This module can control any amount of injectors. One output driver transistor can control up to 4.
It is based on a NE555 Timer IC and a quad OP-AMP IC. Two adjustments are provided: Boost threshold and fuel injector duration. Basically one Trimpot is used to set at what boost the injector starts firing and the other sets the amount of fuel injector duty cycle. There is an on-board LED that blinks according to the activity of the fuel injector(s). It is very to setup. I have set this on a turbo car even without an air fuel ratio meter. I set the fuel to maximum in which the engine misfires in high boost. I then reduce the fuel until the engine just cease misfiring. The engine runs at a rich zone yet have proper combustion which is safe. This method is not recommended for beginners but it proves the point of user friendliness. It can also be used as an intercooler water spray and water injection controller. In fact, it will work in any application which needs a duty cycle output based on load (TPS or MAP) pulsed by RPM. This circuit is not as advance as those microcontroller based units but it will still properly provide fuel for turbo applications running higher than stock boost or normally aspirated converted to forced induction setups and is an acceptable way of providing a correct air fuel ratio especially when you have one injector per inlet runner. It beats using a pressure switch to turn on a cold start injector. This type of circuit is very similar to the controllers sold by SDS, microtech, haltech etc... It cost about US$20 to make one excluding MAP sensor. You can have a dedicated MAP sensor or tap the signal off an electronic boost meter. (That's what I did). This PCB was hand made. I will send the gerber files for production if there is enough demand.
The schematics can be viewed/printed out from here. You will need CIRCAD '98 software.
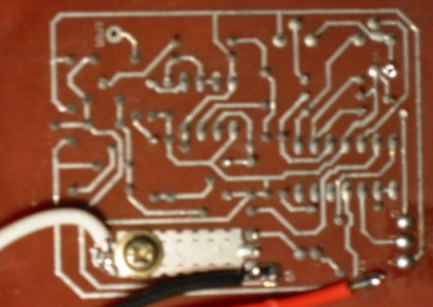
The PCB foil pattern can be downloaded HERE You will need PCB Designer to print it out. Print it out on the oily side of used stickers with a laser printer and iron-on the pattern onto a clean PCB. Etch it the usual way...
